
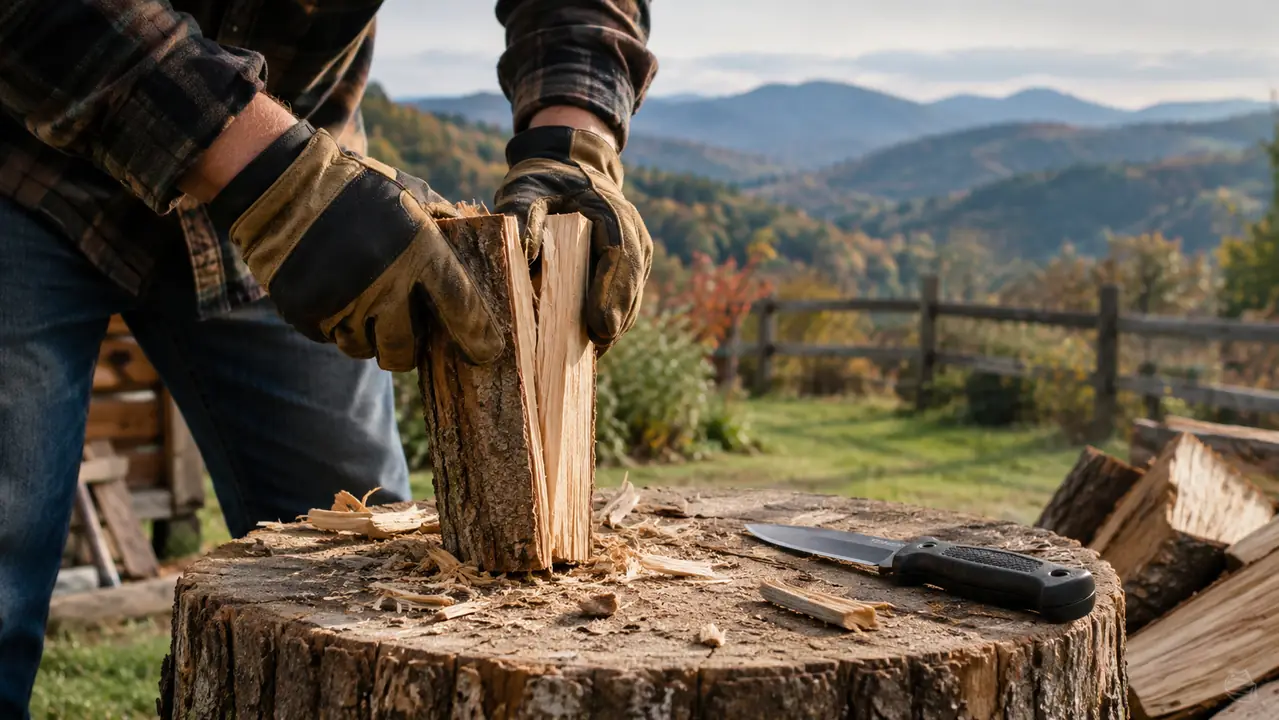
February 2021. An ice storm came through East Tennessee and left our place outside Knoxville dark for nine days. I spent thirty years restoring power for other people, so the drill was familiar: wood stove ready, water stored, and a pile of firewood that would carry us through. What I didn't have was kindling. The logs were split but stove-sized, too thick to catch from a match, and I stood in the cold every morning breaking them down with a hatchet I could barely control with stiff hands. By the second morning I had switched to a Morakniv Companion, a fixed blade with a 4.1-inch stainless steel blade, and I haven't processed kindling any other way since.
Before the steps, one honest note: a knife is not a hatchet, and I'm not going to tell you it replaces one. The Companion splits small stuff beautifully, and it does it more safely than swinging steel in the dark. But I keep a hatchet in the shed for rounds that are too big for a blade. This guide is about the kindling-size work, pieces from finger-thick up to about four inches across, and doing that work without losing a fingertip when it's 18 degrees and your hands don't want to cooperate.
One Knife, a Stump, and Ten Minutes of Work
The Morakniv Companion is the fixed blade I reach for when the power's out and the stove needs feeding. A baton, a stump, and this knife turn a cold morning into a warm house.
Amazon Check Today's Price on Amazon →Step 1: Set Up a Stable Work Surface
The first mistake I made was trying to work on a plastic cutting board on the ground. The board slid, the knife chattered, and I nearly put the edge into my knee. A safe kindling station starts with something heavy and stable. I use a white oak round about eighteen inches across and twenty inches tall, set on packed earth so it doesn't rock. If you don't have a stump, the tailgate of my 2012 Tacoma works in a pinch, with a piece of plywood under the work to protect the paint. The surface should come up to about belt height so you're not bending over with a blade in your hand.
Clear the work area before you start. Leaves, loose bark, and stray twigs hide the edge and make you guess where the blade is. I sweep the top of the stump flat and keep a galvanized bucket at my feet for the kindling as it comes off. One more thing: light. On those February mornings I worked with a headlamp because the sun wasn't up yet. Position your light so it falls on the end grain of the log, not in your eyes. You want to see exactly where the blade is going to bite.
What I tried first, and why it failed: I thought I could work fast, kneeling on the ground with the log wedged between my boots. That lasted about ten minutes. Kneeling put my knee in line with the blade, and the log rolled on the first tap. The stump fixed both problems. The setup takes an extra three minutes, but it's the difference between a controlled cut and a knife that decides its own direction.
Step 2: Choose the Right Grip and Hand Position
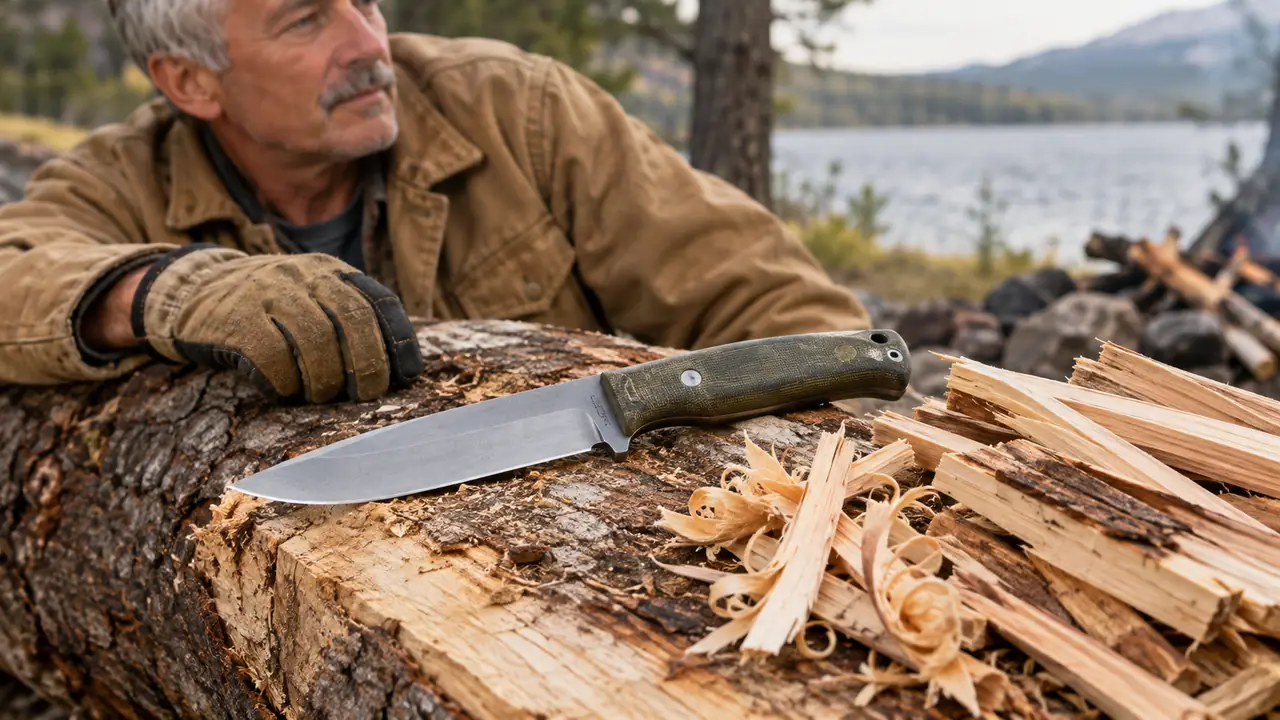
The Companion handle is where this knife earns its keep. The molded polymer grip has a texture that holds when your hands are wet or gloved, and the finger guard stops your hand from sliding forward onto the edge. For batoning and splitting, I use a full grip: all four fingers wrapped around the handle, thumb resting along the flat. No pinch grip. I tried a pinch grip on the blade itself for the first few days, the way you might for carving, and the shock of every baton tap went straight up my arm. A full grip spreads that force across your whole hand.
Your off hand is the one that gets you into trouble. Never put it on top of the piece you're splitting. Hold the log by its sides with your fingertips, or stand it on the stump and keep both hands on the knife. When you tap the spine with the baton, the blade goes where the grain takes it, and if your off hand is anywhere above the cut, it's in the way. Keep your fingers wrapped around the baton, not curled over the end, so a slip doesn't bring your knuckles down on the blade.
The other habit that saved me: cut away from your body. Every draw cut, every split, the blade moves away from your torso or down into the stump, never toward your hand. After the ice storm I caught myself one morning starting a cut with the edge angled back toward my forearm, and I stopped mid-swing. It takes a conscious second to check the angle. That second is cheaper than a trip to the clinic.
Step 3: Split Small Logs With a Baton
Batoning is the technique that turns a 4.1-inch blade into a splitting tool. Set the log upright on the stump, end grain up. Place the blade on the end grain near the edge of the log, not the center. Tap the spine with a baton, a piece of hardwood firewood about twelve to fourteen inches long and wrist-thick. The Companion spine is thick enough to take these taps without damage. Work your way around the end grain, scoring a line, then drive the blade through with firmer taps. The log splits along its grain, and you're left with two pieces that are closer to kindling size.
The first time I tried this, I made the classic mistake: I put the blade in the center of a seven-inch wet red oak round and drove it in. The blade sank to the guard and stuck. I had to rock the whole assembly to free it, then split from the outside edges instead. That's the rule I use now: keep the pieces under about four or five inches across, split from the rim, and if a piece doesn't split after two or three taps, set it aside for the hatchet. Forcing a short blade into wet wood is how edges chip.
One more thing about batoning: the tap should be firm but controlled. You're not trying to drive the blade through in one swing. You're persuading the wood to open along its grain. I've split enough kindling for a full season with the Morakniv Companion, and the blade has never chipped or rolled under this work. When the log is wet, the blade can walk sideways on the end grain. Re-seat it and tap again rather than swinging harder. Slow is smooth, smooth is safe.
Step 4: Make Feather Sticks for Fast Starts
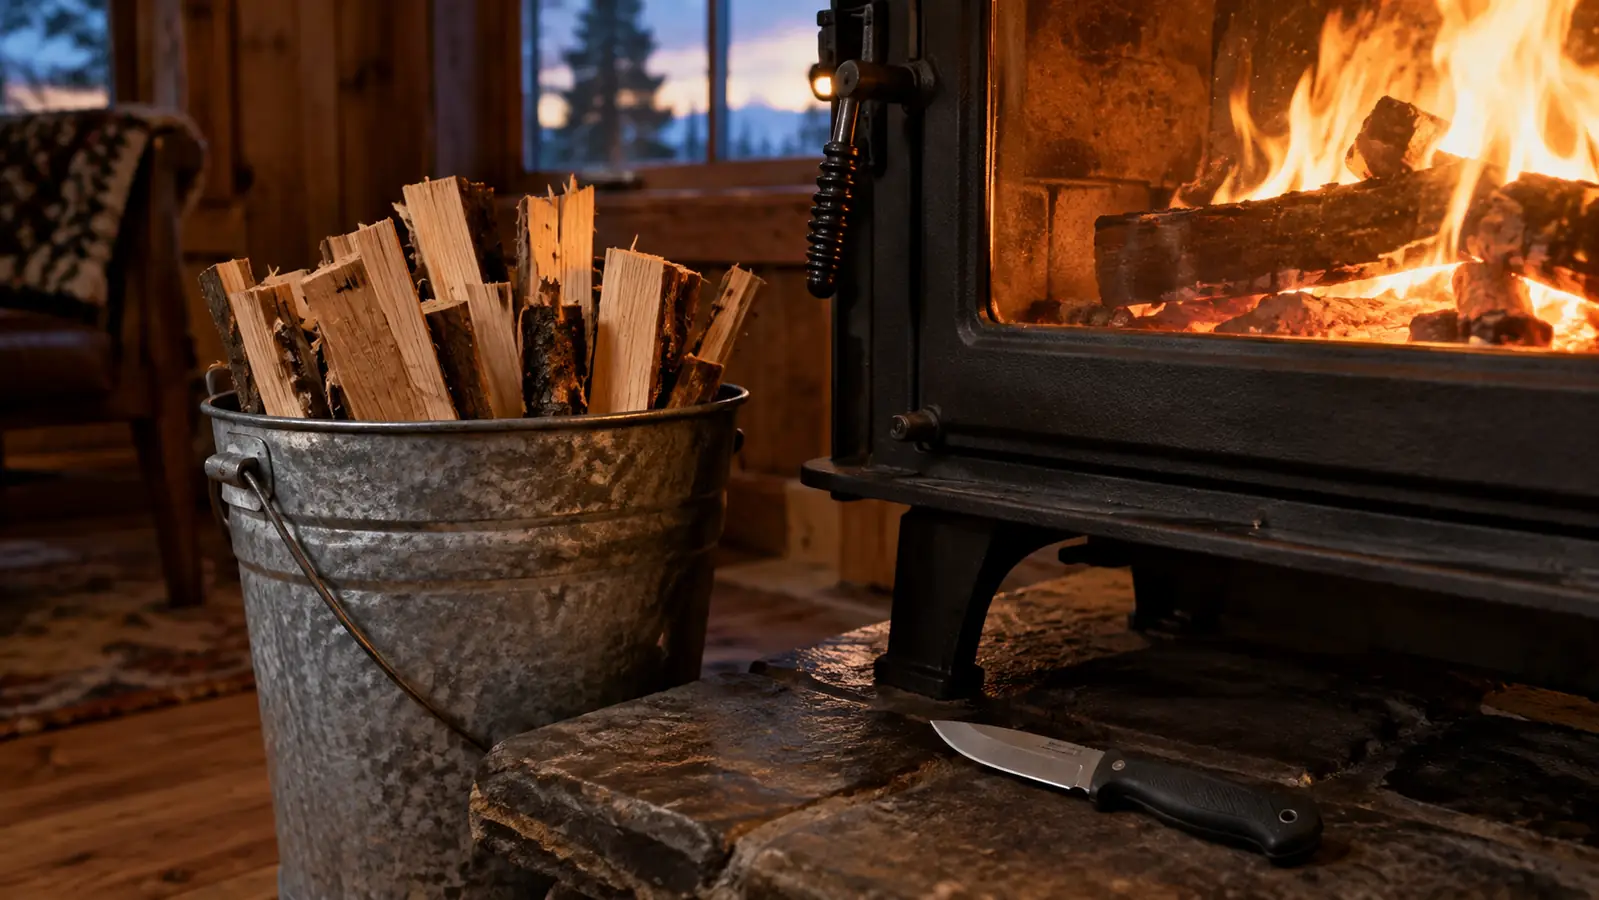
A feather stick is a piece of wood with long, thin curls shaved along its length so the dry inner wood is exposed. It's the oldest trick in the book for wet conditions, and it's the difference between one match and a whole box. The Morakniv stainless blade takes a fine edge and holds it long enough to shave a dozen curls before it needs a touch-up. To make one, set a dry stick on the stump so it can't roll, place the blade near the far end with the edge down, and draw it toward you in a long, shallow pass.
My first feather sticks were terrible. They looked like thick potato peels, and they wouldn't light because the curls were too fat to dry out. The fix was angle. The blade has to sit almost flat against the wood, maybe ten degrees, so the curl comes off paper-thin and stays attached at the base. I practiced on dry cedar and poplar first, the softest wood I had, before I tried it on oak. On a damp October morning in the Smoky Mountain foothills, a handful of those thin curls caught from a single match and lit a split that was still damp on the inside.
Draw cuts like this are where people get hurt, so here's the safe version: your off hand holds the stick firmly, well below the blade, and the cutting hand draws the knife back along the stick. The edge never points at your off hand. If the stick is too short to hold safely, set it on the stump and brace it with your palm flat on top, fingers away from the cut. And keep the curls attached at the base; that's what makes a feather stick work, the whole bundle catches at once.
Step 5: Keep the Edge Sharp and the Knife Ready
A dull knife is the most dangerous tool in a camp. Dull edges slip, and a slipping blade is how knuckles get opened. I touch up the Morakniv Companion with a ceramic rod after a day of splitting, a few passes on each side at about twenty degrees, and the edge comes back to shaving sharp in under a minute. When I'm home in Knoxville I finish with a strop, but the rod is enough on its own for this work. The stainless steel takes a little more patience than carbon steel to get truly razor sharp, and it rewards you by holding that edge longer.
The other side of sharp is clean. Stainless means rust-resistant, not rust-proof. After the ice storm I left the Companion in its sheath for two weeks without wiping it down, and when I pulled it out there was a faint spot on the blade. A few passes on the rod and it was gone, but the lesson stuck: give the blade a wipe before it goes back in the sheath. Wood sap and moisture are the two things that will dull and spot a knife faster than anything.
Check the sheath, too. The Companion plastic sheath holds the knife firmly, but it collects wood chips and grit that can scratch the blade and dull the edge as it slides in and out. I blow mine out or tap it on the stump every few uses. That's the whole maintenance routine: wipe, rod, sheath check. Five minutes a month keeps this knife doing the job that matters when the power is out.
What Else Helps
A few things make kindling processing faster and safer than the knife alone. A pair of leather work gloves protects your off hand from the baton and from splinters. A headlamp covers the dark mornings that seem to be when the stove always needs feeding. A small folding saw cuts rounds down to length, and a hatchet handles the pieces that are too big for a blade. I keep all of it within reach of the stump, and the kindling goes straight into a galvanized bucket with a lid so it stays dry.
For the bigger picture: my 72-hour kit lives by the back door, and the Companion rides in the Tacoma get-home bag all year. If you're comparing knives, the head-to-head with the ESEE 4 on this site lays out where each one wins. The honest review covers the plastic sheath and the factory edge in detail, and the long-term review tracks how the stainless edge holds up across a season of real use. One more habit: I split kindling in batches, not one piece at a time, so there's always a dry bucket ready before the weather turns.
Nine days without power taught me that kindling isn't a convenience. It's the difference between a cold house and a warm one.
Here's where I land. The Companion won't replace your hatchet or your chainsaw. It replaces the dangerous half of the kindling chore, the part where you swing steel in the dark with cold hands. That's a trade I'll make every winter, and it's the reason this knife stays in my kit year round. If you're building an emergency kit on a normal budget, this is the first knife I'd put in it.
Build a Kindling Setup You Can Trust in the Dark
The Morakniv Companion is the fixed blade in my kindling kit, my 72-hour kit, and the Tacoma get-home bag. If you process wood for heat or emergencies, this is the knife I'd start with.
Amazon Check Today's Price on Amazon →